It is time to migrate away from shared hosting because your web hosting company is letting you know your website uses the whole resources, and most times you are locked out from using enough entry processes or you keep seeing "508 resources unavailable" when working on your website. These are some error you could be getting :
Error 508. Resource Limit Is Reached
The website is temporarily unable to service your request as it exceeded resource limit. Please try again later.

Error 508. Resource Limit Is Reached
This website is temporarily unable to service your request as it has exceeded it’s resource limit. Please check back shortly.If you are the owner of the account and are regularly seeing this error, please consider upgrading your plan to the package with higher resource allocation. If you have any questions, please contact our Technical Support department.
Resource Limit Is Reached
The website is temporarily unable to service your request as it exceeded resource limit. Please try again later.
Your hosting company will let you know your website is using more resources in their server, so that should happen. If you are unlucky with the hosting company, they might suspend your website for 30mins -1hour. Imagine the prospective clients or angry customers and phone calls you might get between those periodS.
Now you have decided to move, but also on a budget, it is time to leave shared hosting because the aforementioned problems are caused by :
Spams
High Traffic
Using many modules/functionality
Not compressing Javascipt/CSS, or faulty script
The best your hosting company will advise you to do are : Database optimization, Compressing JS and CSS files, Using a CDN like cloudflare or MaxCDN to help stop bots/Spammers clogging your servers, caching anonymous users on your website.They not-so-good ones will either ask you to migrate your files to VPS server or change..
If you are lucky, the above solutions will work with web hosting service, but it might only be for a while before it happens again. One of the goals of having an online presence or website is having high traffic, and when you have those traffic you always hoped for, it is time to satisfy all of the people clicking on your website.
Migrating Your Website To VPS server (The Steps)
I recently moved one of my website having issues on a shared hosting server after facing a lot of issues on the server. My website keeps going down everyday, and 508 error every week is not something that is pleasant to the eye, especially if you have to add new content, and you can't use 2 tabs of your browser without your website going down. In between, the whole problem, I lost more than 500 different, unique contents, and it seems, nothing will change.
VPS can be quite expensive, especially if you are on a budget, while you could get your shared hosting for $3.99 a month, VPS ranges from $30 and more. But thanks to the folks at Reddit, they opened my very eyes to cheap VPS hosting services, and I went for it. A lot of cheap VPS hosting are out there, and you need to search to get some of these services, or just go to Lowendbox to see hosting companies with a special package for the month, and other cheap VPS hosting services.
If you are yet to get a VPS hosting, Click here to see a cheap VPS hosting service..
Now Migrating your server, i am assuming you have the basic idea of exactly what you are doing.
Go to your Cpanel or what ever file manager you are using and zip your website files. If you are using CMS's system, I advise you clear cache of your Database and also optimize your server to make the files a little lighter before your zip the website files or database.
Get into the file file Manager to zip your website files, click on compress, and download the website files to your computer.
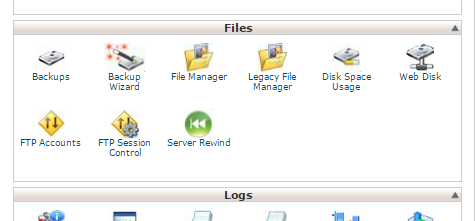
Now that you have your zip file. You can navigate back to your cPanel/file manager and see your PhpMyAdmin..
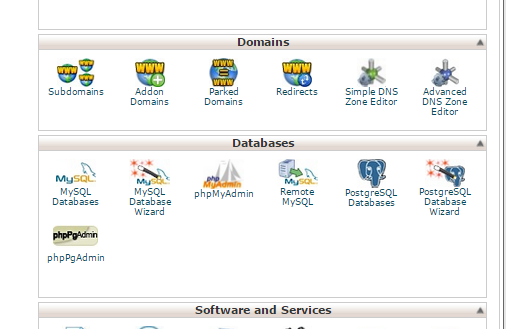
Go to PhpMyAdmin to export your database to your computer.. Now we are good to go and ready to move our website to a VPS server...
Configuring VPS Server
At this time, am confident that you have bought your own VPS server, i assumed you have checked the configuration and decided on the server configuration that suits your needs and that of your website/s.
I told you about using cheap VPS hosting, what i should mention is that, Cheap VPS servers are UNMANAGED. What that means is, you are responsible for managing your servers, you can delete, reboot, stop or switch off your server at anytime. It is like doing everything from the ground up, and no cheap VPS hosting company will provide you with Cpanel interface, you will need to get licenses for at least $15 every month, some license goes for just $12.
If you can afford that monthly, you can stop reading now, as managing your website with Cpanel interface is easy. Also note that once you installed Cpanel, you can't uninstall, unless you re-install your server OS.
So you have a file and a database, in this tutorial, we will be using the CentOS as an example of what we will be doing, since it is a Linux distro, all other distro looks exactly the same, you just need to change their syntax.
Configuring Vesta Control Panel
Vesta CP is the alternative for Cpanel and the sweet deal here is that unlike Cpanel, Vesta can be used for free without having to worry about paying $15 every month. Other perks are that Vesta is one of the simplest web/file management to use if you are coming from Shared hosting, Cpanel.
Vesta will manage your DNS servers, FTP servers, Mail Server, Database Server, Fast Backups and many more. The Vesta GUI is clean and Vesta CP is reliable.
This control panel works well on CentOs, Ubuntu, Redhat. But i recently installed it on my CentOs server, and that is where we will be working from.
Steps :
Installing VestaCP is super simple, you will be able to do it. Just start with a fresh copy of CentOS as your operating system, you can select this on the order page when getting your VPS server.
1. Connect to your VPS with Putty. It's a free Windows app. You just enter in your VPS IP provided to you after you purchased your VPS, port 22, Username: (root), and then your root password. It then connects you to the server via SSH protocol so that you can enter in commands.
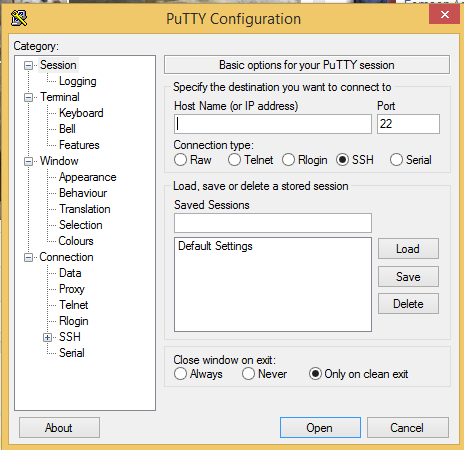
Just insert your Main Ip provided by your host, and click Open
2. Run 2 simple commands that will automatically install VestaCP onto the VPS. You can see the 2 simple commands here: https://vestacp.com/#install
These are the magic wands for installing Vesta CP on your server:
curl -O http://vestacp.com/pub/vst-install.sh Or wget http://vestacp.com/pub/vst-install.sh
then run
bash vst-install.sh
Then you just sit back and relax while it is installed for you. At the end you will get a link to connect and how to login. User and Pass.It will also ask for your email, it is adviseable to write the correct email, as a link and information of your new information will be forwarded to your email.
The email might not go directly to your inbox, check your spam/junk to retrieve it
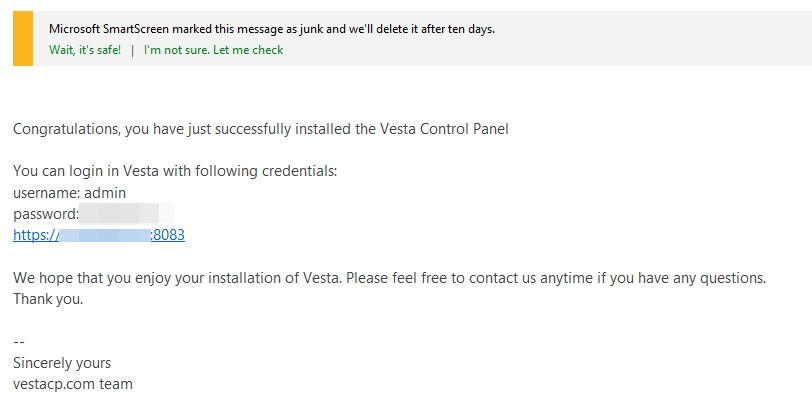
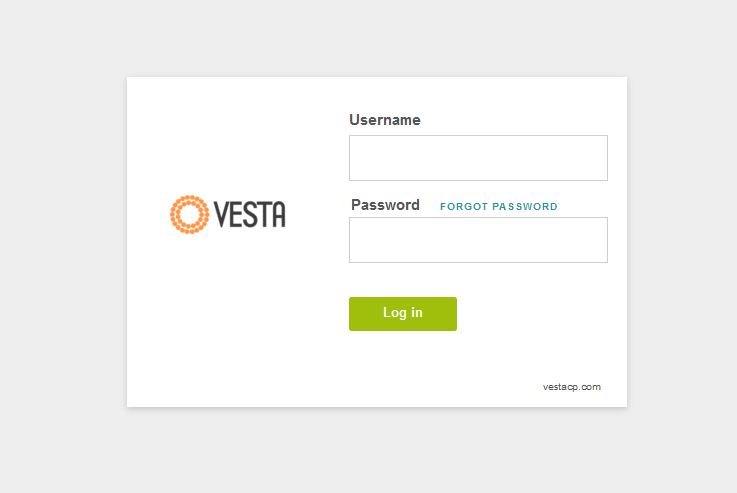
Now head over to the Https link you had just received from Vesta and insert into your web browser, at this time you should see the Vesta login page. Insert your username and password and you should be good to login without issues into Vesta.
If everything goes well, you should now find this page :
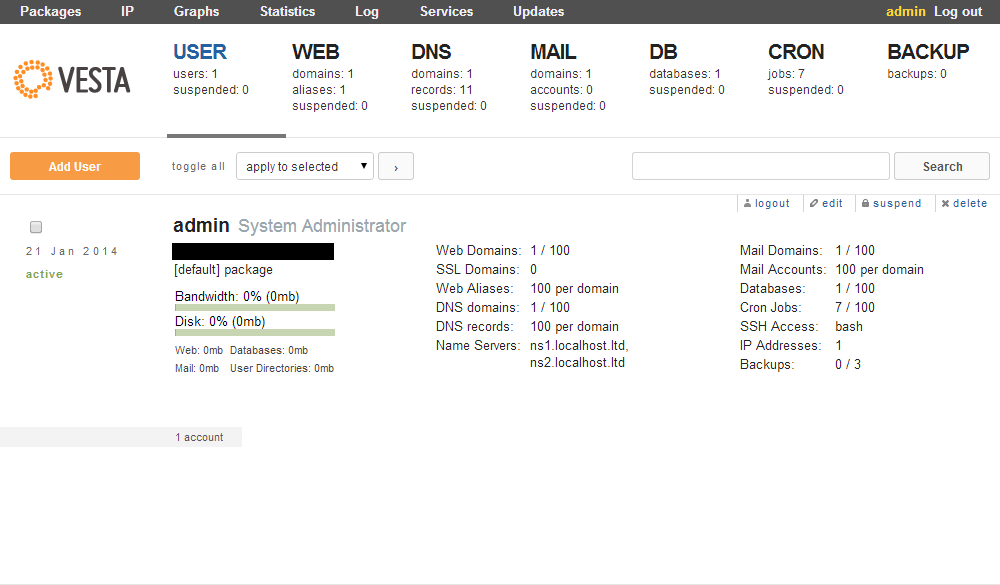
If you are seeing this right now on your computer. Congratulations, you have done well and ready to move your website....
In my next tutorial, I will show you how to add your website, add your Nameservers to your current domain and enjoy your website...
If you run into any problem, please comment, and also if you need help doing this....