OpenVPN can be used on the Linux Ubuntu desktop using a simple GUI, and command line. This configuration can be used for Ubuntu 16, 17, and 18, and all that will be needed is a network manager. Ubuntu will not support running the .ovpn without the network manager.
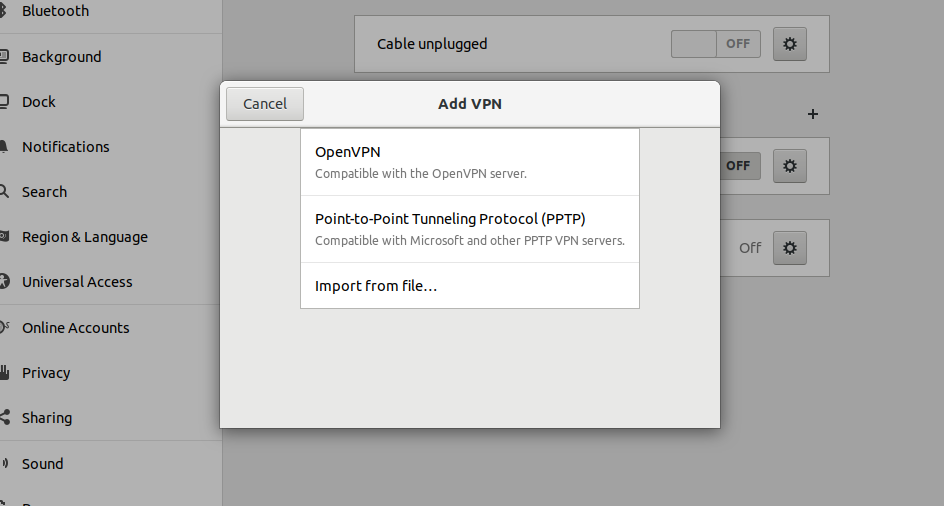
OpenVPN Screen after installation
The VPN menu will only have 2 menus, Point-to-point tunneling protocol and the import and file. You will not be able to add a new OpenVPN certificate to use on Ubuntu without using the OpenVPN manager.
To install the OpenVPN network manager, use this command in your terminal;
sudo apt-get install network-manager-openvpn-gnome
After the installation, restart your settings menu, and you can now see the OpenVPN menu added.
To add a free OpenVPN connection, go to;
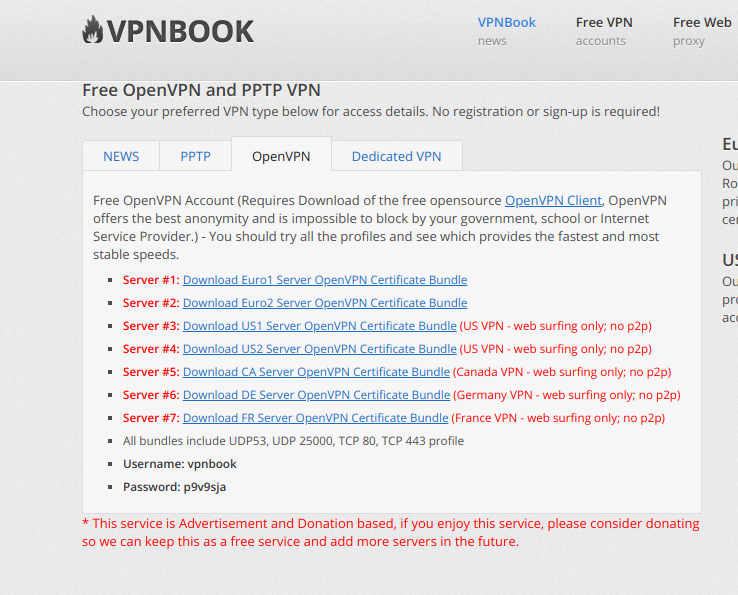
--> Download the OpenVPN connection you would prefer, according to the country on VPN book. There areEurope, US, Canada, Germany and France server- download one of the bundles to your Ubuntu laptop.
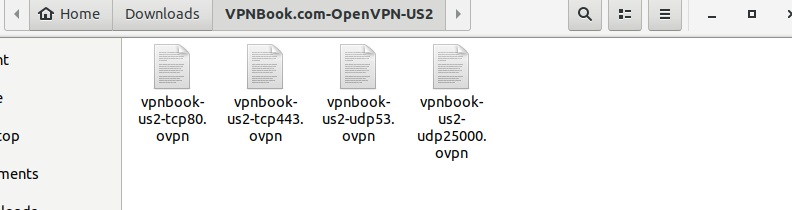
Go back to the network manager, and select the "Import a file," you can select any of the files shown above to use to change your IP address.
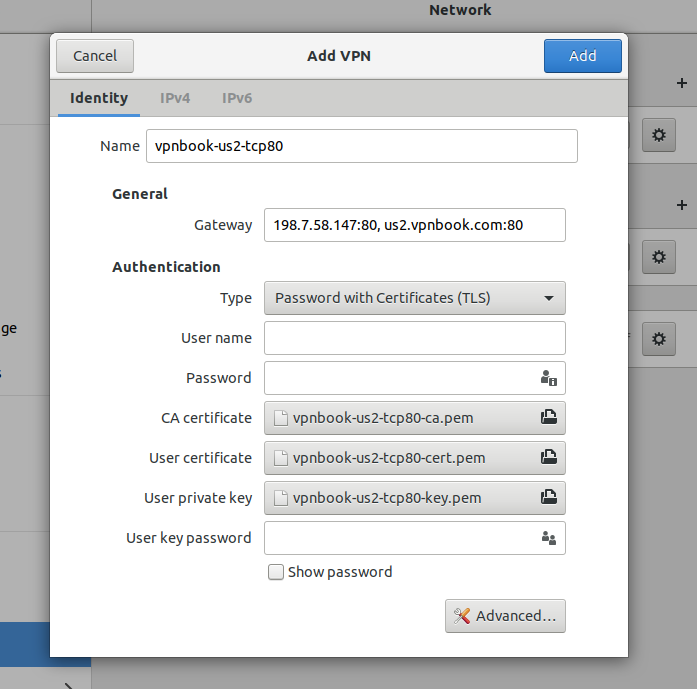
When the file is imported, the fields will be autofilled. The username and password field will be left blank, go back to the VPN Book website to copy and paste the username and password of the day(username and password changes every 7 days) to these fields, and wait for the free VPN service to connect.
![]()
Padlock icon shows that VPN is connected on Ubuntu 18.04 (Bionic Beaver)
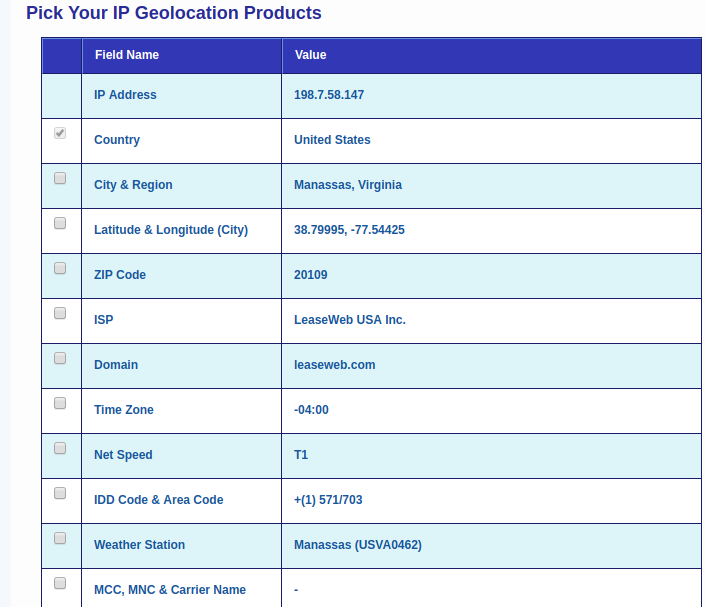
The image below shows the new IP and the country have selected;