I recently wrote a tutorial about how you can prepare your website and also configure your own Vesta control panel. So in this new series, I will be sharing with you how to add the website and database, you have recently moved away from your web hosting company.
To Add Your Website :
Login to your server, to open the Vesta Control Panel.
Your Vesta control panel URL should look like this exmple : https://123.456.789.011:8083/
Login as an admin with the information you got via your email. Immediately you have logged in, it is a good idea to change your password, and not the one you were given, since you know the capacity of this account, it is advisable to use a strong password combination.
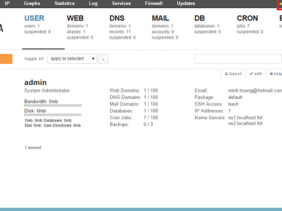
Click on admin as shown below :
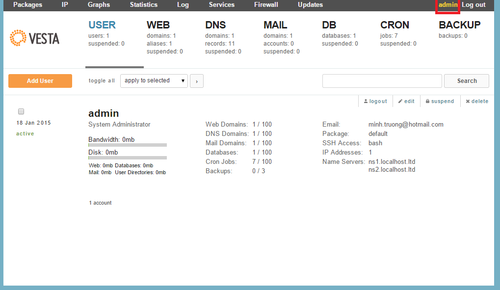
You will see this:
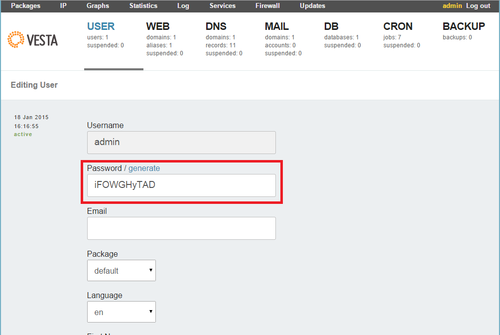
Tips: You can use the generate to get a strong password you can remember or keep it somewhere you can't lose it. Make sure to edit the generated password too.
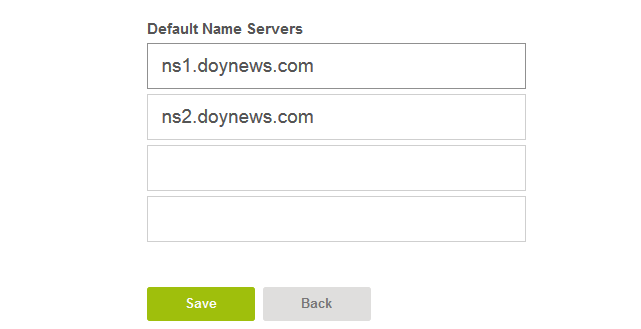
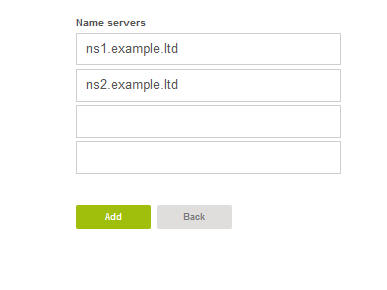
Scroll down that same page, you will find a field where you can define your new nameservers.
Now hit save here and lets move on.
Let Add A Package
Depending on your VPS capacity, you can also have like a hosting plan on your server, where you sell domain hosting to different people or organisation. To be able to achieve this, you need to create a package. The same packages you find here is the same package you saw before buying your shared hosting. So this is where you create yours
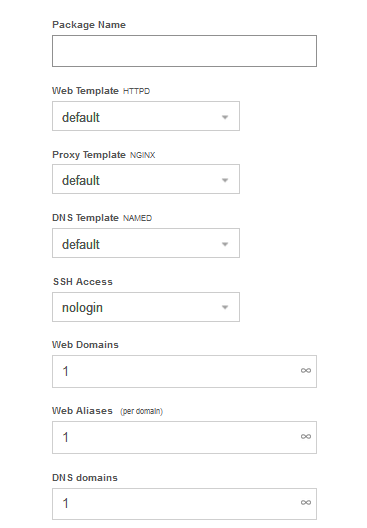
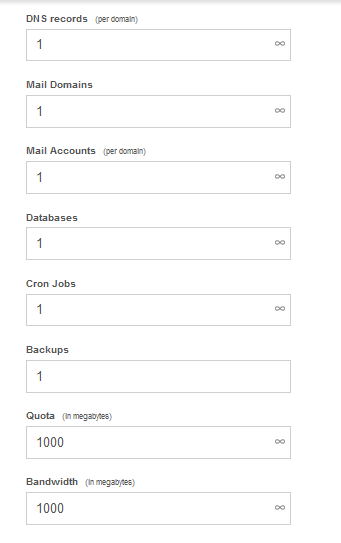
Click packages on your Vesta CP dashboard :
Looking at the settings, you can create an hosting plan if you plan to do so..how many domain or web domain can an account have, their own nameservers, how many databases and more.
Now, Let Us Add The Website Files And Your Database File You Had From Your Previous Hosting Company
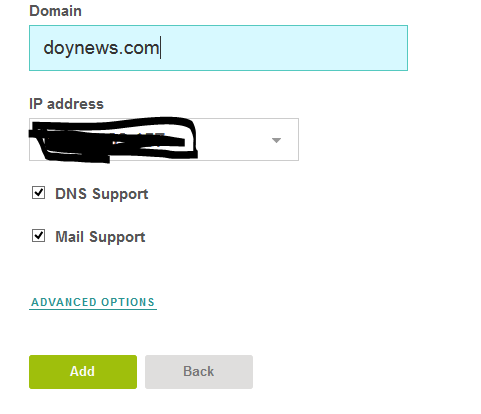
Click on "Web", and you probably would see a dummy website, go ahead and delete it, and click the "Add Web Domain"
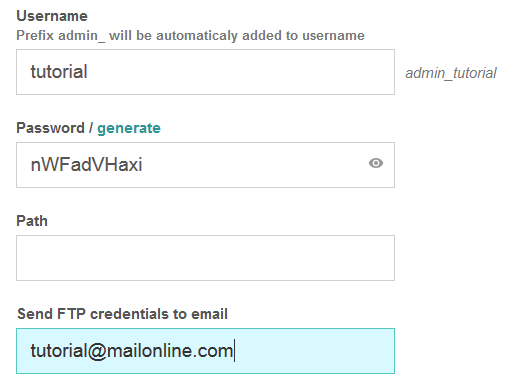
I advise that you click on the Advanced options, as we will need to create an FTP account that will help you move your files using your preferred FTP software.
This account will be used to move our files...
Leave every other thing to default and let us continue our configuration
Now Let Us Go Ahead And Add Our SQL Database
If you are using a DB, you need to upload that as well, it is time to click on DB on your Vesta Control panel
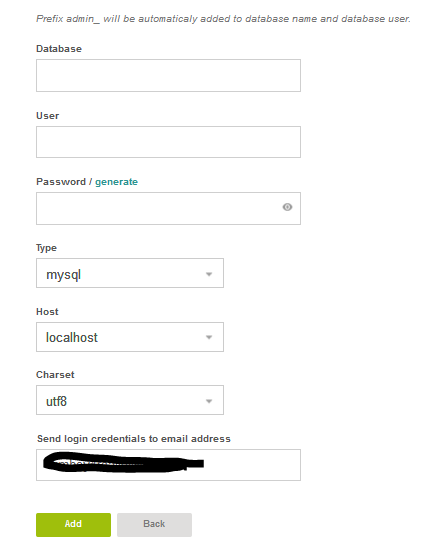
Click on the + sign and add your new database
Your DB will have the prefix of admin, other Database won't have, as you can assign the name to it. Immediately after creating the DB information, Vesta will create a new link showing Open PhpMyAdmin. This will open a PhpMyAdmin interface where we can now upload our zipped Database will downloaded in the first series of this tutorial.
Import your Database now to the PhpAdmin. Wait for a few minutes to upload your Database. Don't forget your Database name, username and password just changed, don't forget to correct that in your website files so as to correspond with the new Database.
Now that it is done...Let us move to moving our website files. Download Filezilla or WindowSCP.
Remember the FTP configuration we talked about, use your Filezilla or WindowSCP.
Move your website online and browse your website....
It is easy as that....If you have any issue with it, comment below and if you need help working on your VPS, you can contact for help...

